Can a small damaged floor section be replaced?
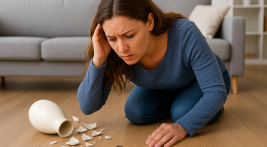
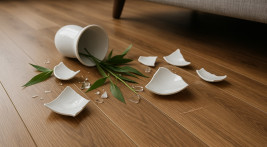
Intensive use of the floor can lead to mechanical damage, stains that are difficult to remove from paint, and dents caused by the fall of heavy objects. Sometimes, water damage can also cause part of the floor to swell. Fortunately, in such cases, it is not necessary to dismantle the entire floor and replace it with a new one. It is possible to replace only a part of the floor covered with panels, or even just one panel. This applies to both laminate wood-based floors and vinyl / SPC floors. It is worth replacing the damaged panel not only because of its unsightly appearance. The damage to the outer layer of the floor panels may cause problems in the future and, eventually, require replacing the flooring in the entire room. Economically, it is unwise to delay replacing the damaged element over time. It is important to remember not to throw away panels left over from the previous installation. We can use them when replacement is needed, so it is safe to keep one or two packs of this flooring. Below, we provide an instructional video that will guide you through the entire process of repairing a damaged floor step by step:
How to replace a damaged floor panel in the bathroom?
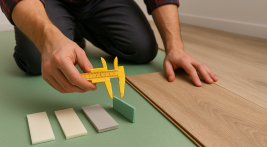
Even in a room like the bathroom, it is possible to remove a faulty waterproof panel (wood-based or vinyl / SPC) and replace it with a new one. Fortunately, like in the living room, this repair does not require dismantling a large portion of the floor and removing all elements from the room. The work begins with removing the damaged part. The process is quick, and we can handle it ourselves using tools most of us already have at home. First, we mark a cutting line in the so-called envelope style (see instructional video). Then, we cut the element using a chisel or a saw with a guide or an angle grinder – but be careful to set the cutting depth properly to avoid damaging the floor or underfloor heating. Do this with care and patience. Rushing can lead to damaging the neighboring panels, requiring replacing a larger section of the floor than necessary. If needed, we can deepen the cuts using a utility knife (do not use a wallpaper cutter) until we can lift the four pieces created after cutting. Be careful not to accidentally remove the connecting pieces from the neighboring panels. Now, thoroughly clean the cut area using a vacuum cleaner. Depending on which part of the floor we are replacing, we must cut the panel in the same way as the previous one. Apply the mounting adhesive sparingly to the protruding part of one of the neighboring panels, always on the longer edge. With one motion, place the panel in the correct spot and tap it around the entire perimeter of the replaced board with a rubber mallet (you can use the removed elements of the panel, placing them on the joins and tapping them with a rubber mallet). Gently remove any excess adhesive while it's still wet. Thanks to additional tapping, the replaced part / panel board will align perfectly with the rest of the floor, and the change will be invisible even to a trained eye. Replacing the damaged section of the floor can be done easily on your own. All it takes are basic tools, patience, and a good, clear installation guide, ensuring the job will be a success.