Advantages of vinyl panels
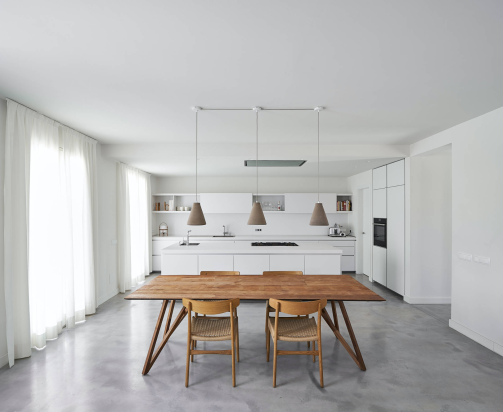
Let’s start by recalling the advantages of vinyl panels. They are extremely versatile, suitable for use in houses, apartments, and offices. They are appropriate for all rooms, including kitchens and bathrooms, thanks to their water resistance and durability. Choosing them allows you to have a uniform floor throughout your home.
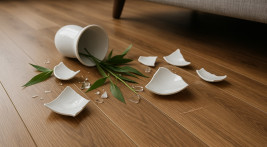
Vinyl panels resist spills and moisture, so they don’t deform, and they offer good sound insulation, significantly reducing the noise of footsteps and impacts. Additionally, they are very easy to clean and maintain. With many attractive designs available, you can easily select vinyl panels that perfectly match your desired home decor.
Proper substrate
The first step in installing panels is preparing a proper substrate. Old tiles must be well prepared—they must be clean and dry. It is important to check whether the tiles are even, stable (not loose or hollow), and free of bulges—unevenness is not allowed. If the floor is uneven or unstable, it must be leveled before installing vinyl panels, and any gaps in the tile grout should be filled. Always fill existing grout joints to avoid installation errors that could damage the new floor.
Easy and quick installation
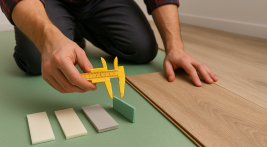
Anyone who has installed flooring before should be able to install rigid vinyl panels—just remember to follow the installation and usage instructions carefully. Our vinyl panels do not require glue, as they are a floating floor. The boards connect with an easy “click” system. Plan the panel layout before starting. Cut panels if necessary with a proper knife (not a standard wallpaper or paper cutter) to fit the room size. Remember to leave expansion gaps using spacer wedges, which are removed after installation.
Start laying panels close to the wall, connecting subsequent panels—ensure the first rows are laid perfectly to avoid gaps between boards in later rows. When connecting the boards, gently tap them together (do not use excessive force). A rubber mallet can help, tapping softly at the joints—refer to the installation guide. After finishing, remove the spacer wedges and install baseboards that match the panel style.
Vinyl panels on tiles – useful information
There are a few more important points to remember when installing vinyl panels over tiles. Before starting, keep the newly purchased panels in their packaging at around 18-28°C for 24-48 hours, always laying them flat. This allows them to acclimate to the new environment, ensuring proper performance and no unexpected behavior after installation. Do not skip any installation steps, as each is crucial for achieving the desired result. Also, avoid placing heavy furniture or objects on the new floor for 24 hours after installation.
After installing vinyl panels over tiles, vacuum the finished floor to remove all dirt. To keep the floor looking great for a long time, protect your furniture legs by sticking felt pads on them to prevent scratches.